G.C. Number 47 581 30
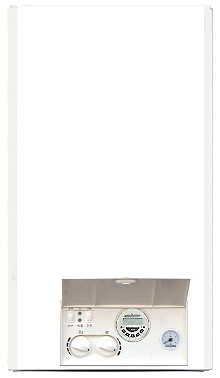
Case removal
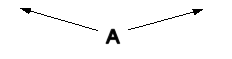
Remove the 4 screws, marked 'A', that secure the upper and lower parts of the front casing.
Lift the front panel a few millimetres and slide it forward to remove it from the boiler.
The PCB is lowered by removing two screws from the bottom of its case towards the back of the boiler and hinging down.
WARNING: Care should be taken when working on this appliance as it has many sharp edges!
Care should also be taken when lowering the PCB as the pressure gauge sensing pipe can easily split causing a water leak.
Case removal
Remove the 4 screws, marked 'A', that secure the upper and lower parts of the front casing.
Lift the front panel a few millimetres and slide it forward to remove it from the boiler.
The PCB is lowered by removing two screws from the bottom of its case towards the back of the boiler and hinging down.
WARNING: Care should be taken when working on this appliance as it has many sharp edges!
Care should also be taken when lowering the PCB as the pressure gauge sensing pipe can easily split causing a water leak.
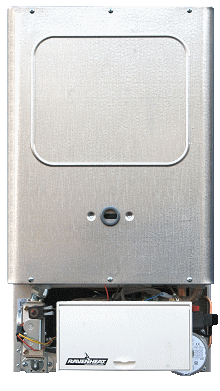
Isolate as per TOPs P4
and refit as necessary